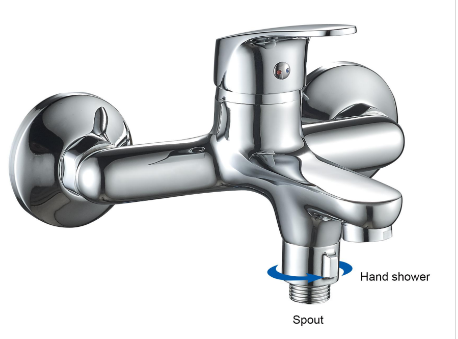
Is Your Faucet Leaking? Learn How to Fix It Like a Pro
In our daily lives, we often take the simple things for granted. One of those things is the faucet , an essential fixture in every home. But what happens when your trusty faucet starts acting up? Is your faucet leaking? Fear not! In this article, we'll guide you through the steps to fix it like a pro.

Understanding the Faucet Basics
Before we dive into the nitty-gritty of faucet repair, let's start with the basics.
What Causes Faucet Leaks
Faucet leaks can be caused by various factors, including:
Worn Out Washers: Over time, the rubber washers inside the faucet can wear out, leading to leaks.
Loose Parts: Loose nuts and bolts can also result in leaks.
High Water Pressure: Excessively high water pressure can put stress on your faucet and cause leaks.
Corrosion: Rust and corrosion can weaken the faucet components, leading to leaks.
Tools You'll Need
Before you start fixing your faucet, gather the necessary tools and materials:
Adjustable Wrench
Screwdriver
Replacement Washers
Plumber's Tape
Bucket
Towels
Fixing a Leaky Faucet
Now that you're equipped with the right knowledge and tools, let's get to work.
Step 1: Turn Off the Water Supply
The first step is to turn off the water supply to the faucet. Look for the shutoff valve under the sink and turn it clockwise until it's completely closed. This will prevent any water from flowing while you work on the faucet.
Step 2: Dismantle the Faucet
To access the inner workings of the faucet, you'll need to dismantle it. Use your screwdriver to remove the handle and any decorative caps.
Step 3: Inspect and Replace Washers
Check the rubber washers for signs of wear or damage. If you notice any issues, replace them with new washers. Apply plumber's tape to ensure a tight seal.
Step 4: Reassemble the Faucet
Carefully put the faucet back together in the reverse order you took it apart. Make sure all parts are snug but not over-tightened.
Step 5: Turn the Water Back On
Once everything is reassembled, slowly turn the water supply back on. Check for leaks and make sure the faucet operates smoothly.
Conclusion: A Drip-Free Faucet
Fixing a leaky faucet doesn't have to be a daunting task. With the right tools and a little know-how, you can tackle this common household issue like a pro. Remember, a drip-free faucet not only saves water but also prevents costly damage to your home.
So, next time you ask, "Is your faucet leaking?" you can confidently say, "Not anymore!"

Comments