Types of Liquid Tight Non-Metallic Flexible Conduit Fitting
Liquid Tight Non-Metallic Flexible Conduit Fittings, also known as LTNC fittings, are versatile and robust solutions designed to protect and route electrical wires and cables in various applications. These fittings are specifically engineered to withstand exposure to liquids, moisture, chemicals, and extreme temperatures, making them ideal for both indoor and outdoor use.

Types of Liquid Tight Non-Metallic Flexible Conduit Fitting
1. Straight Connectors
Straight connectors are one of the most commonly used LTNC fittings. They provide a secure and reliable connection between two straight sections of non-metallic flexible conduits, allowing for a smooth conduit run without any sharp bends. These connectors are available in various sizes to accommodate different conduit diameters.
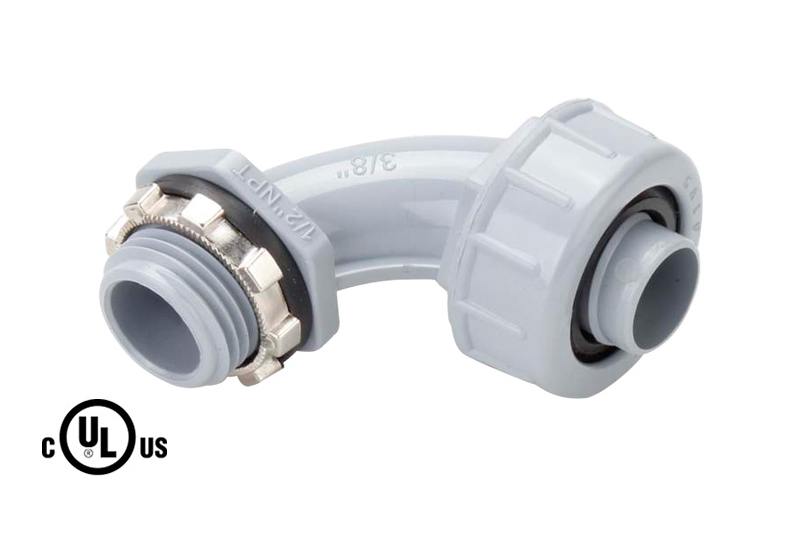
2. 90-Degree Connectors
As the name suggests, 90-degree connectors are used to make a right-angle turn in the conduit run. They are beneficial when you need to navigate around corners or obstacles while maintaining the integrity of the conduit system. These connectors come in different materials and sizes to suit specific project requirements.
3. Conduit Couplings
Conduit couplings are essential for joining two separate lengths of liquid-tight non-metallic flexible conduits. They ensure a secure connection, preserving the conduit's liquid-tight properties. Like other Liquid Tight Non Metallic Fitting, they are available in various sizes to fit different conduit diameters.
4. Elbows and Swivels
Elbows and swivels allow for more flexibility and movement in the conduit system. Elbows provide angled turns, while swivels allow the conduit to rotate freely, making them suitable for applications that require dynamic movement of cables.
Installation of Liquid Tight Non-Metallic Flexible Conduit Fitting
Proper installation is crucial for ensuring the effectiveness and longevity of liquid-tight non-metallic flexible conduit fittings. Follow these steps for a successful installation:
Step 1: Planning
Before you begin, carefully plan the conduit run, considering the path, obstructions, and any potential hazards. Proper planning will ensure a smooth and efficient installation process.
Step 2: Cutting the Conduit
Use a hacksaw or conduit cutter to cut the non-metallic flexible conduit to the desired length. Measure accurately and mark the cutting points to achieve precise cuts.
Step 3: Insert Fittings
Insert the appropriate LTNC fittings into the conduit ends. For straight connectors and couplings, simply slide them into the conduit. For 90-degree connectors and elbows, make sure they are properly aligned with the desired angle.
Step 4: Tighten Fittings
For a secure and liquid-tight connection, tighten the fittings appropriately. Avoid over-tightening, as it may damage the conduit or the fittings.
Step 5: Sealant Application
To enhance the Non-Metallic Fittings, apply a suitable sealant around the fittings' joints. This step is crucial, especially for outdoor installations or locations exposed to moisture.
Step 6: Testing
Once the installation is complete, conduct a thorough inspection and test the conduit system for any leaks or loose connections. Rectify any issues before proceeding with cable installation.

Comments